How to Install the S3XY Knob in Your Tesla?

The S3XY Knob is our smart, fully customizable controller that lets you operate over 80 different actions. Its design integrates seamlessly with your Model 3 or Model Y. Since its launch, we’ve made many improvements, and if you’ve missed any updates, this article will get you up to speed.
We’ll walk you through installing the Knob on your vehicle’s center console, setting it up, and customizing it so you can get the most out of the product.
If you’re a visual learner, we’ve also included a tutorial video below.
Installation
For Model 3/Y (pre-Highland and pre-Juniper)
Follow these steps for a smooth installation:
1. Connect one end of the provided USB-C cable to a port inside the center console storage compartment.
2. Plug the other end into the Knob’s USB-C port marked with a car icon.
3. Position the Knob in the middle of the center console with one side against the storage compartment.
4. Push the other side until it clicks into place and locks securely.
Note: If the Knob doesn’t sit flush with the console, use the included leveling strips to adjust the height. This isn’t always necessary, but it helps compensate for slight variations in some Tesla consoles.
For Model 3 Highland / Model Y Juniper
If you own the Model 3 Highland or the Model Y Juniper, the following instructions apply to you:
1. Connect one end of the USB-C cable to the Knob’s port marked with a car icon.
2. Hold the Knob at a 45° angle so both ends slide into the console grooves.
3. Gently twist until the Knob straightens and locks in place.
4. Plug the other end of the USB-C cable to the adapter we have provided.
5. Insert the adapter into the 12V socket to power the Knob.
Pairing
Once your Knob is installed in your central console, it's time to pair it.
1. Open the S3XY App and go to the Knob tab.
2. Tap Connect New Knob and wait for the pairing process to complete.
3. Check the connection status at the top of the page.
4. The Knob should pair automatically with the Commander. If not, open Knob Settings (top right), scroll down, and tap Connect Knob to Commander.
Note: If for any reason, the pairing still fails, follow the instruction below:
1. Go to Commander Settings.
2. Perform a factory reset.
3. Unplug the Knob, plug it back in, and repeat the pairing steps.
Replacing an Action
Now that you have installed and connected the Knob successfully, it's time to start customizing it by adding/ replacing actions:
1. Tap the icon of the feature you want to replace in the Knob’s visualization.
2. A small banner will appear with the current function - tap it to open the list of all the actions that are supported by the Knob.
3. Scroll or use the search bar to find your desired feature.
4. Tap Save Action to confirm.
Note: Some features have extra options or specific instructions—read the full description before saving.
Disclaimer: Keep in mind, most features won’t appear on your Tesla screen unless the Commander is paired with the car via Tesla’s official API. For a step-by-step guide, watch the video linked below.
Execute on Enter
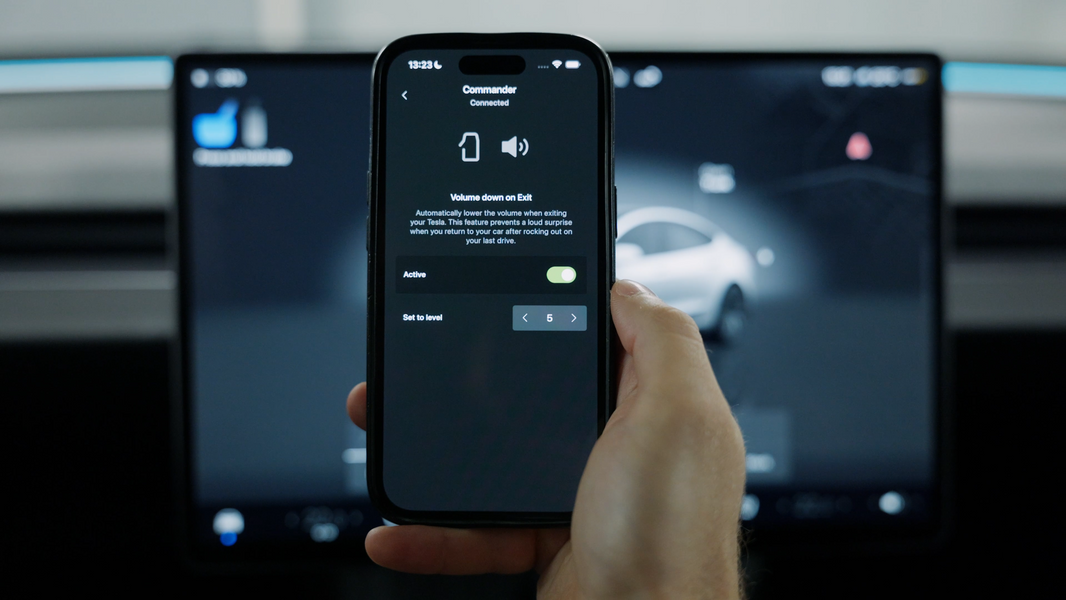
There are two ways you can execute an action after it’s saved. The first option is by just rotating the dial and the second one is via a press, thanks to a toggle called “Execute on Enter”, which you can find on the Knob’s page when you select a feature. Once enabled, it allows actions to be immediately executed when you press one of the corresponding side buttons of the Knob. For actions that have only two states, this toggle will be automatically turned on. Such features are opening the glovebox, toggling the rear vent and so on. However, if an action has three or more states, you will have to use the dial - like, for example, when you are adjusting the regen levels or the temperature.
Submenus
When you are searching for an action you will notice that some are labeled as submenus. Submenus allow you access to a list of related actions that are grouped up together for convenience. For example, when I press on the Media submenu through the corresponding side button of the Knob, the screen will display features like play/pause, previous, next and so on. We also added an option for a Custom Submenu where you can group up only the actions you want. To find it, just open the menu where all of the supported actions are located, scroll all the way to the bottom of the page and select Others.
Other Customizations
- Return to Home Screen: Inside the Knob’s page you can select after how many seconds it returns to Home Screen after you execute an action. It’s automatically selected for 3 seconds but if you need extra time, you can change it.
- Extra Pages: By default, you have access to 3 screens with 5 features each. If you want to add more, press and hold the Knob’s visualization, scroll to the right and press the plus. To remove a page, simply click the trash icon to delete it.
- Auto Page Selector: For better navigation through different pages, we made the Auto Page Selector which will pick a specific page, depending on the drive state you are currently in. For example, when you shift to Drive it will display all the actions that you like to use during driving - let’s say manually preheating the battery, adjusting the regen levels, Autopilot On/Off, etc. The same applies when you go in Reverse, the Knob will show your pre-selected features for this state - hazard lights, fold mirrors and so on.
- Brightness: You can also adjust the brightness of your Knob’s display. If you want to keep it consistent with your Tesla screen, simply remain in Auto setting.
- Display Timeout: Choose how long the Knob’s display stays on when idle.
- Haptic Feedback: Adjust vibration strength when interacting with the Knob.
- Dynamic Colors: Another great customization are the Dynamic Colors which change the Knob’s LED, based on the action you are using. For example, the lower your regen levels are, the dimmer the light will go. Of course, you can always disable this toggle and keep the LED a single color of your choice.
- Dashboard Mirroring: If you like to use the S3XY App as a dashboard we also added a feature that mirrors the Knob’s display on your phone.
Conclusion
As you can see, the S3XY Knob offers endless possibilities for customization. Experiment with different setups until you find your perfect configuration - just like the rest of our products, it’s built to adapt to you.